How to use your Webflow Website!
This page is here to help you feel confident about using and updating your site. Whether you want to change some text, swap out an image, or add a new blog post, you’ll find everything you need here.
Let’s get started step by step.
1.
How to Log Into Webflow
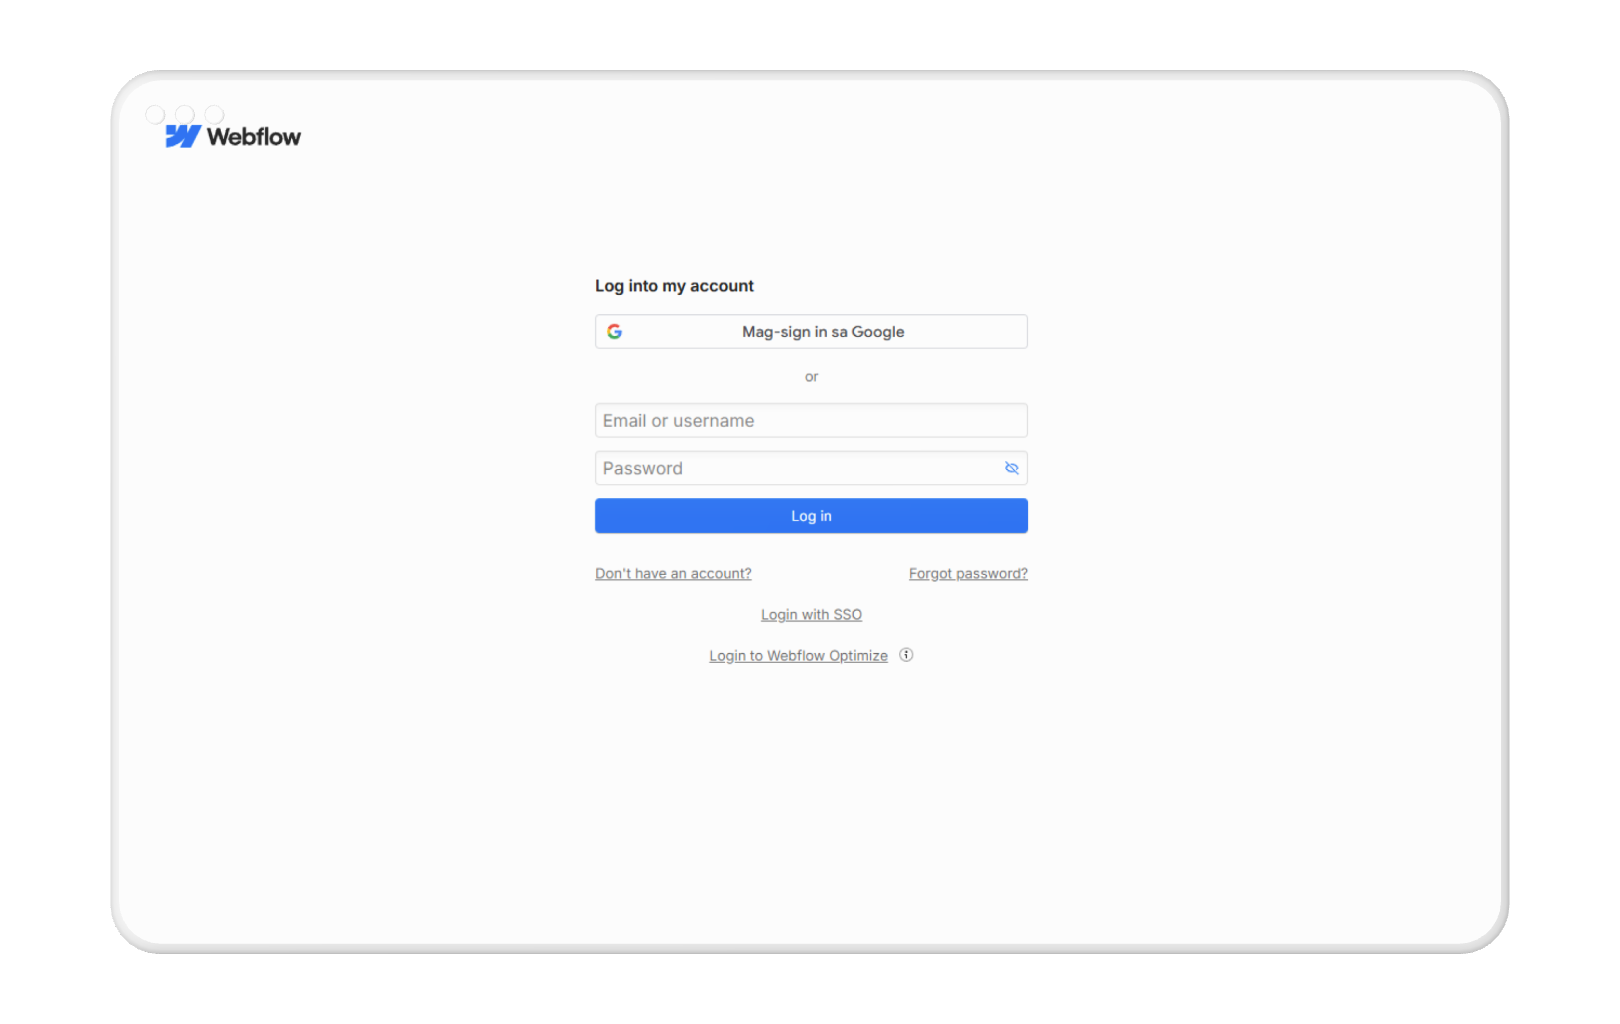
Logging into Webflow is the first step to managing your website.
- Open your internet browser (Chrome, Safari, etc.) and go to webflow.com.
- In the top-right corner of the page, click “Log In.”
- Enter your email and password (these were sent to you earlier).
- Once you’re logged in, find your website in the list of projects and click it to open.
Save this link to Webflow as a bookmark so you can easily log in again later.

2.
How to Open the Webflow Editor
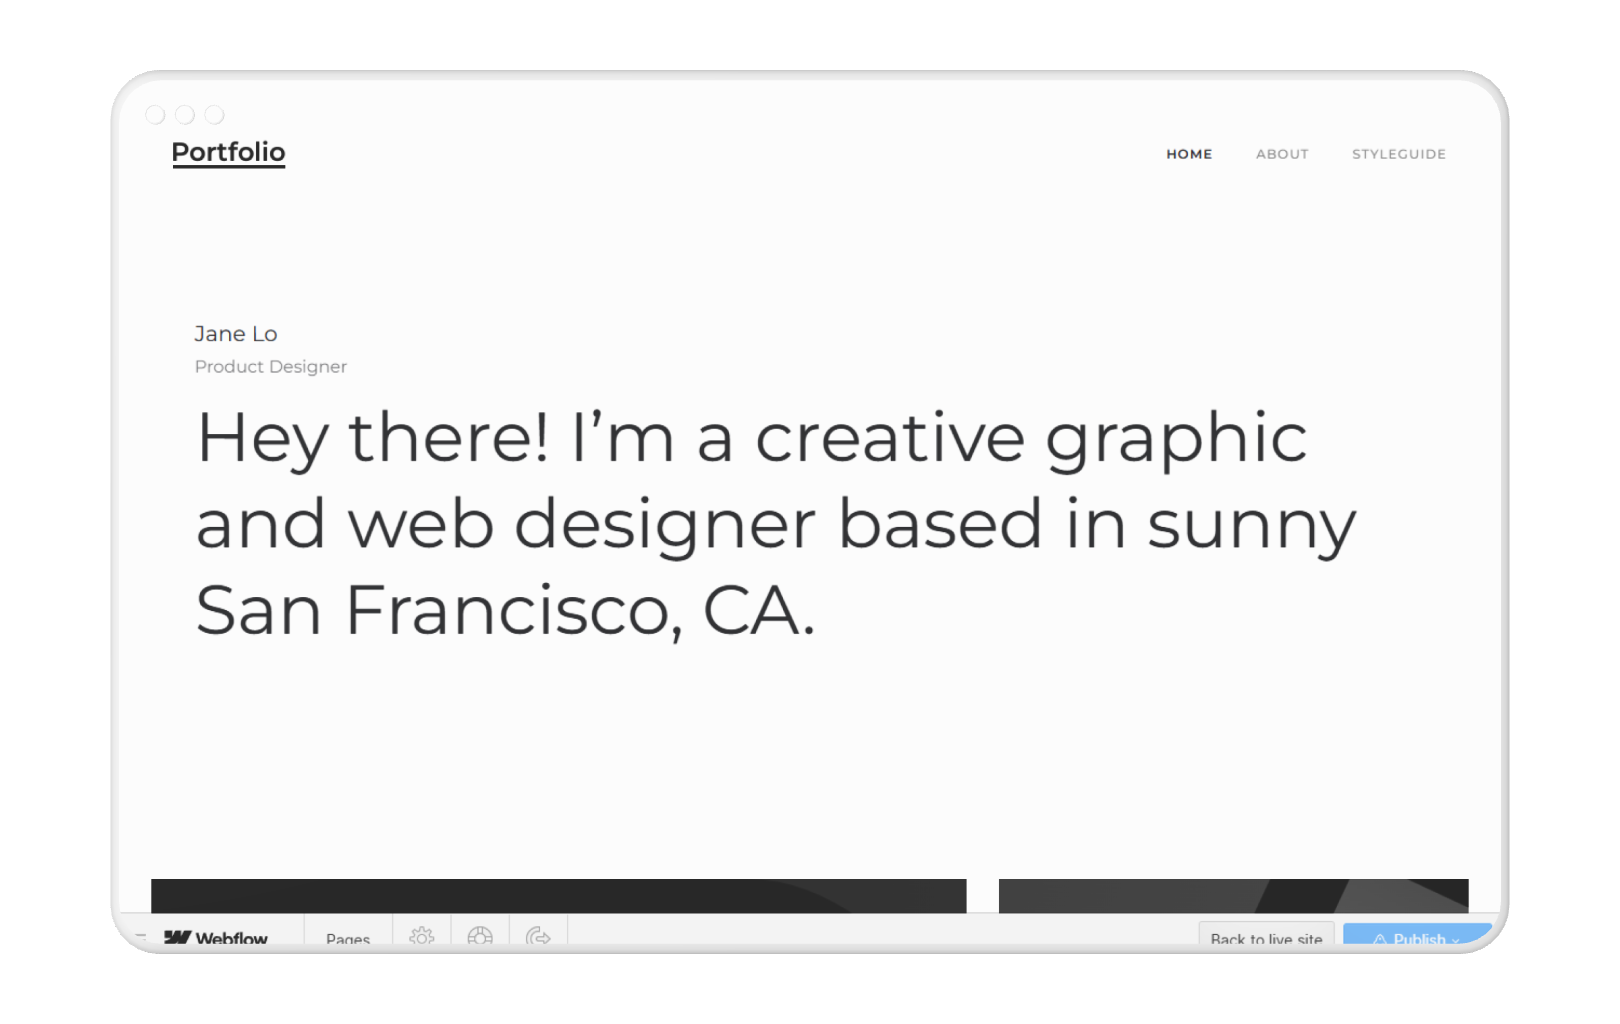
The Editor is a tool made just for you, so you can make changes to your website without touching any complicated code.
- On the Webflow Dashboard, click “Open in Editor” next to your website name.
- You can also go to your website's live URL (e.g.,
www.yoursite.com) and type ?edit at the end, like this:www.yoursite.com?edit.
When you’re in the Editor, you’ll see blue boxes pop up around different parts of your website. These are the sections you can edit.
3.
How to Update Text
Need to change some words on your site? It’s easy!
- Hover your mouse over the text you want to edit. A blue box will appear,
and you’ll see a small pencil icon. - Click the text to open the editor. You can now type your changes directly.
- When you’re done, press Enter or click anywhere outside the text box to save your changes.
If your homepage has a picture of a beach but you want to update it with a picture of your team, you can upload the new image here.
4.
How to Replace an Image
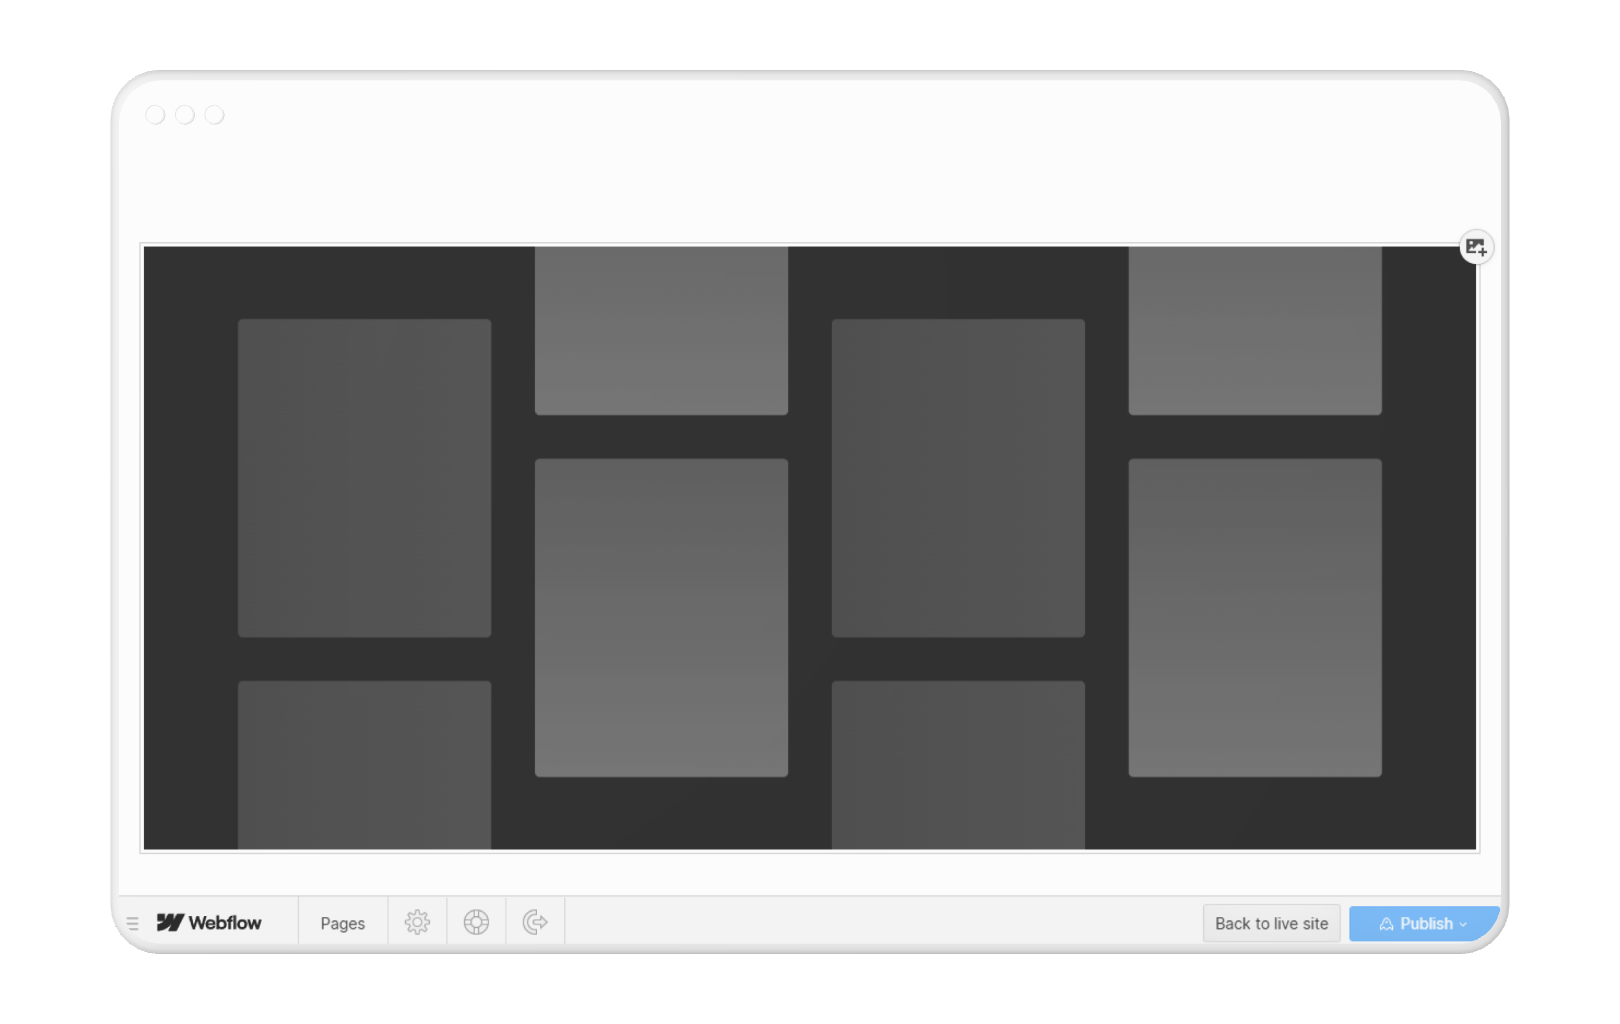
Want to swap out a picture? Follow these steps:
- Hover your mouse over the image you want to replace. You’ll see the Replace Image button or a small pencil icon. Click it.
- Choose a new image from your computer or select one from the Webflow Library (where previous images are saved).
- Your new image will appear on the page. If you don’t like how it looks, you can adjust its size or position.
If you see a section that says "Welcome to our store!" and you want to change it to "Welcome to our online shop!" you just click on the words and start typing.

5.
How to Add a Blog Post or Portfolio Item
If your website has a blog or project section,
adding new content is simple:
adding new content is simple:
- In the Editor, look for the Collections tab on the left-hand side. Click it.
- Select the collection you want to update (e.g., Blog Posts, Projects, etc.).
- Click New Item to create a new post.
- Fill in the fields (title, description, images, etc.).
- When you’re happy with it, click Publish to make it live on your site.
If you’re adding a blog post, type in the title, write your content, and add a featured image.
6.
How to Publish Your Changes
Once you’ve made all your updates, you need to publish them so they show up on your live website.
- Look for the Publish button in the top-right corner of the Editor.
- Click it, and then choose the domain(s) where you want your changes to go live (e.g.,
yoursite.com).
Your changes will be live in just a few seconds!
7.
How to Keep Your Website Looking Great
Your website will work best if you keep it updated. Here are some tips:
- Check your content regularly. Is everything up to date? Are there any typos or outdated images?
- Backups: Webflow automatically saves versions of your site, so you don’t need to worry about losing changes.
- Preview first: Always click the Preview button before publishing, so you can see how your changes will look.
8.
Learning More with Webflow University
If you want to go beyond the basics, Webflow University has amazing tutorials and videos to guide you. Click Here
These videos are short, easy to follow, and cover everything step by step.
9.
Need Help? We’re Here for You!
If you get stuck or have questions, you’re not alone.
Here’s how to reach us:
Here’s how to reach us:
- Send us an email at hi@studiofriday.com.au
- Or use the Webflow University for quick answers to common questions.
Final Thoughts
Updating your website doesn’t have to be hard. With these simple steps, you’ll be able to keep everything looking fresh and professional. And if you ever need extra help, just let us know—we’re always here to support you. Happy editing!